
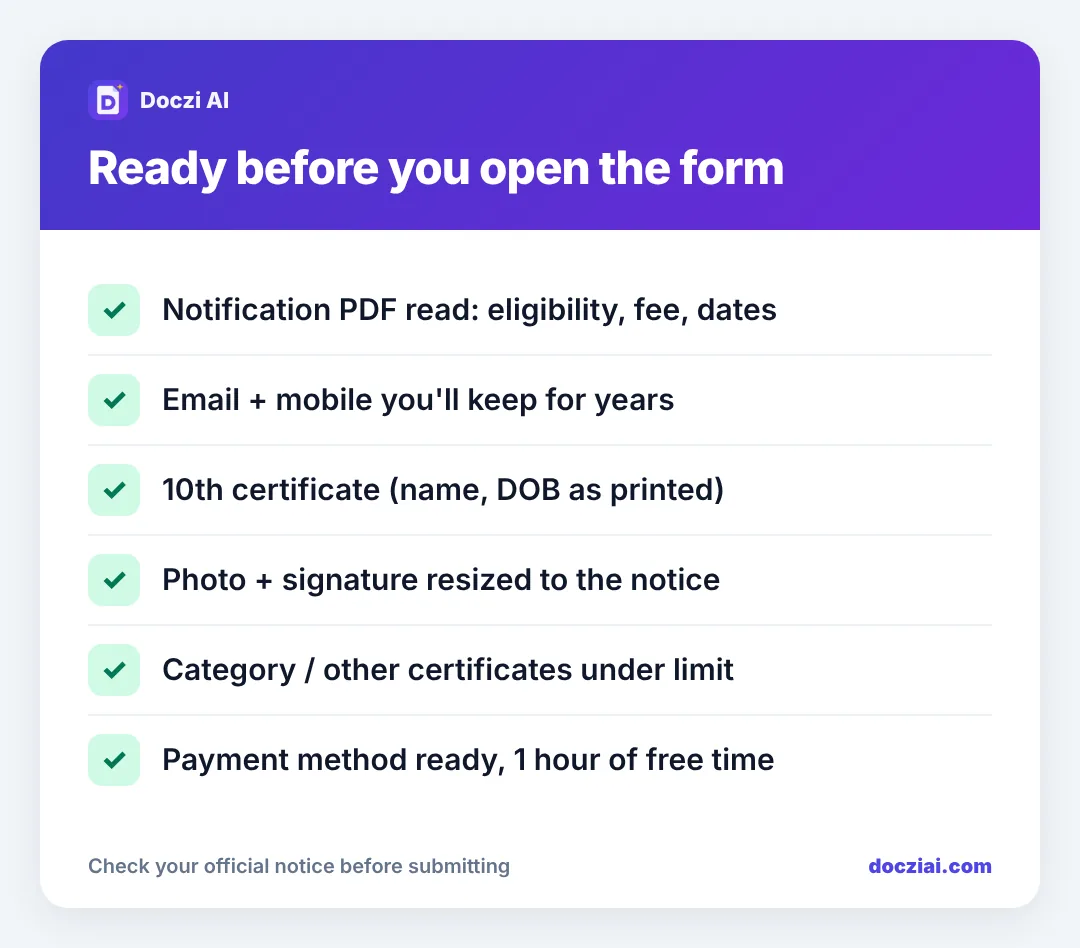
Here’s the online form checklist: before you start any exam or job form, keep these ready: the official notification read once, an email and mobile number you’ll keep for years, your 10th certificate for name and date of birth, a photo and signature resized to that notice’s size, any certificates compressed under the limits, and a working payment method. With all of that open in front of you, most forms take 20–30 minutes instead of an evening.
In this guide
1. Read the notification first
Download the notice from the official website, not a forwarded PDF. Read eligibility, age limit, fee, the last date for registration and for payment (they can differ), and the “how to apply” section. That last section lists the photo and signature sizes and which documents to upload.
2. Email and mobile number
Use an email and number that you’ll still have two years from now. Admit cards, results and joining letters for some recruitments come much later. Don’t use a cyber café’s email or a friend’s number.
3. Personal details as on your certificates
- Name: exactly as on your 10th certificate, including spelling and spacing.
- Date of birth: as on the 10th certificate.
- Father’s and mother’s names: as on official records.
- Category, PwD, ex-servicemen details with certificate numbers and dates.
- Address with PIN code, and a second address if it differs.
- ID proof number the form asks for (Aadhaar, voter ID, etc.).
Spelling mismatches between the form and your certificates are among the hardest problems to fix later.
4. Photo, signature and other images
Check the notice’s exact pixel and KB requirements and make them from good originals. Our exam size list has 79 exams and forms with the sizes filled in; or use the photo resizer and signature resizer with the numbers from your notice. Bank exams also want a left thumb impression and a handwritten declaration.

5. Documents under the size limit
Category certificate, educational certificates, disability certificate, experience letters: whatever the notice asks. Compress each to the limit with Compress PDF. Our guide to certificates under 200 KB helps here.
6. Payment
Have UPI, a debit card or netbanking ready, with enough balance. Payments fail more often near last dates; don’t leave it to the final evening. If one fails, read what to do when the fee payment fails before paying again.
7. Time and a stable connection
Block an hour. Use a stable connection and a charged phone or a computer. Many portals log you out after inactivity, so don’t start the form and then go hunting for a document.
8. After submitting
- Download or screenshot the confirmation page and payment receipt.
- Note your registration number and password somewhere safe.
- Save everything in a folder for that exam; see our folder system.
Different form types, different extras
- Bank exams: also left thumb impression and handwritten declaration. See bank exam upload sizes.
- NEET: postcard size photo and finger impressions.
- Scholarships: income certificate, bank passbook, fee receipt.
- School admissions: the child’s photo and birth certificate; see Navodaya and KVS.
- State recruitments: domicile certificate, sometimes a photo with name and date.
The notice’s “how to apply” section always lists the uploads. Read it before you start so nothing surprises you halfway through.
FAQs
Can I fill the form on my phone?
Yes, most portals work on phones. See tips for filling forms on mobile.
What if my name is different on Aadhaar and the 10th certificate?
Use the spelling the notice asks for (usually the 10th certificate) and keep an affidavit or gazette notification ready if required at verification.
Should I fill the form at a cyber café?
You can, but type your own passwords and OTPs, and use your own email.
When is the best time to apply?
In the first week after the notice. Servers are fast and you have time to fix mistakes.